Sequencer
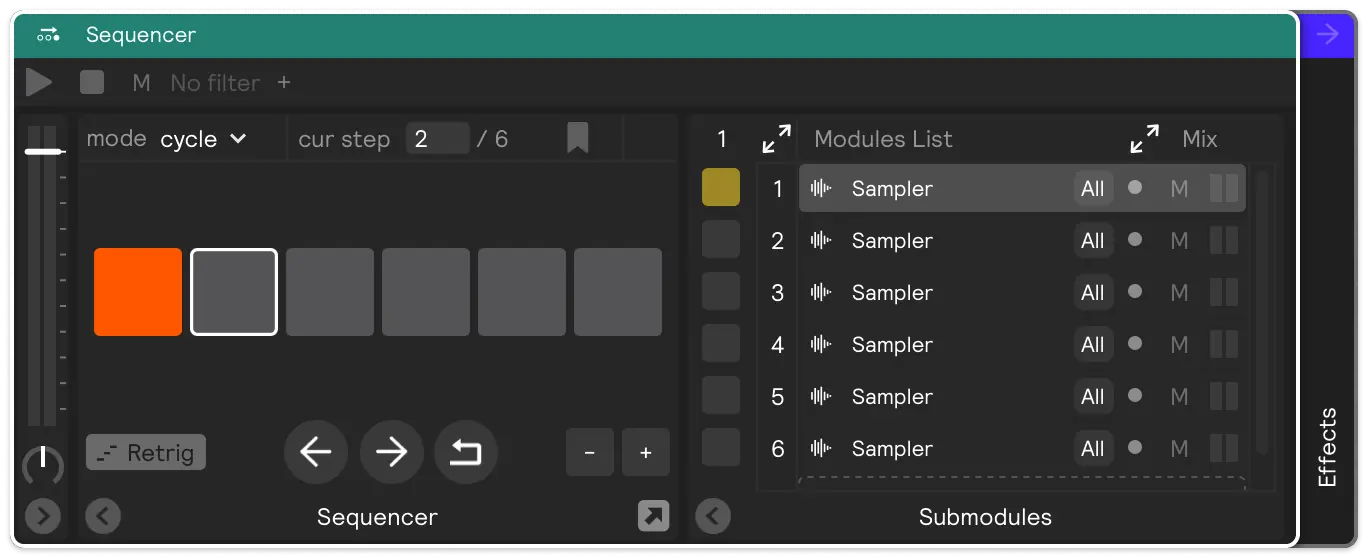
The Sequencer plays the modules inside it one step at a time. Every incoming hit advances the sequence and fires whatever is assigned to the new step, so a single drum zone can walk through a phrase — a different sample per hit, a chord progression, a rotating set of synth voices — instead of repeating the same sound. You can even put a sequencer inside of a sequencer for extra variability!
Steps and modules
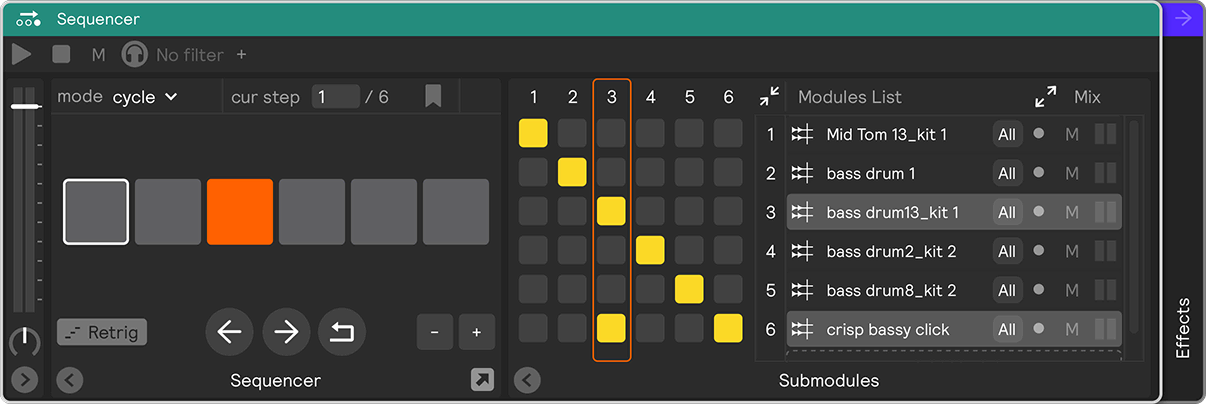
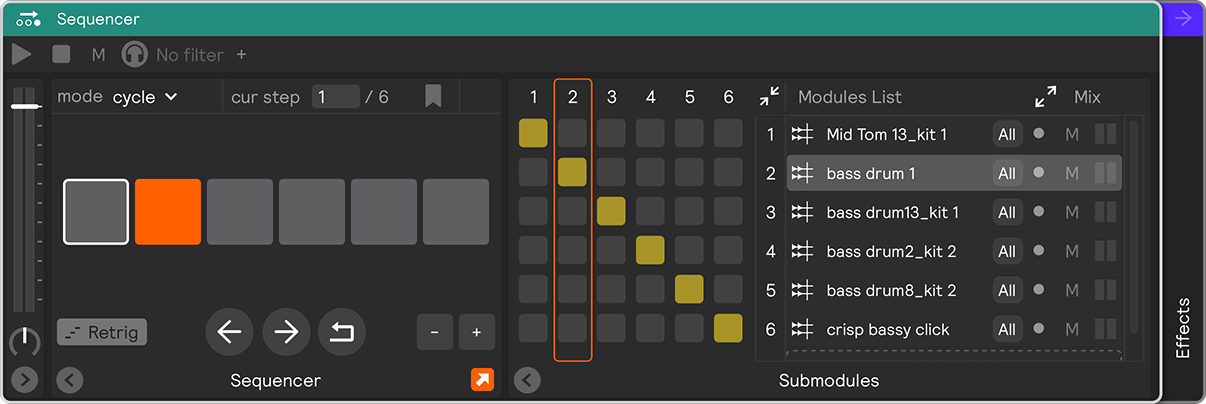
The child modules of the sequencer are the rows of its matrix, and the columns are steps. A lit cell means "this module sounds on this step."
The number of steps is independent of the number of modules. You can have more steps than modules — steps that fire nothing, or that repeat a module you've already used — or more modules than steps, stacked together on shared steps. Use the + and - buttons to add or remove steps.
Matrix View
By default any time you add a new module to the sequencer it will add a new step to the end of the sequence and assign the new module to that step. But, if you want to change up the pattern: turn on advanced mode to open the matrix view, where each cell assigns a module (row) to a step (column). This is how you build a step that fires several modules at once for a layered hit, or reuse one module across several steps. Outside of advanced mode the sequencer shows the compact strip, one module per step.
Transport
The current step boxes show the step that will sound next, as step / total. Type in the left box to jump the sequence to a step, or in the right box to change the total number of steps.
The arrow buttons step the sequence backwards and forwards by hand without sounding anything, and the loop button resets the sequence to step 1.
A hit normally advances the sequence to the next step and then sounds it. The exception is the first hit after a reset, after a manual prev/next, or after a typed step: that hit sounds the step you're on rather than skipping past it, so a sequence always starts where you left it.
Reading the display
Two different steps are marked in the step strip, and they don't usually line up:
- The white outlined step is the current step, the one that will sound the next time the sequencer is triggered. It's always the step the
current stepboxes are showing. - The orange step is the selected step, the one you're looking at or editing. In the matrix view, the selected step is the column drawn with an orange outline.
Modes
Cycle/reverse
When a sequencer is in cycle mode, every hit will trigger a new step in the sequence, wrapping back to the first step at the end. reverse will do the same thing, just in the opposite direction, wrapping to the last step.
Random
The three random flavors are grouped under a random submenu in the mode menu, and the parent entry shows whichever one is active:
randompicks a step at random on every hit. This is plain random, so the same step can repeat back to back.rand hoppicks at random but never lands on the same step twice in a row. It's the default choice under therandommenu.shuffleplays every step once in a random order before any step repeats, then reshuffles. The step that ends one pass is never the step that opens the next.
With two or fewer steps, rand hop and shuffle have nothing meaningful to avoid, so they behave as plain random.
For a fun, interesting effect, you can assign a module to multiple steps to increase the probability it will be triggered in random mode. For example, if you have Sampler A assigned to the first nine steps of a ten step sequence, and Sampler B only assigned to the tenth step, then there is a 90% chance each time you trigger this sequencer that Sampler A will be played.
Manual
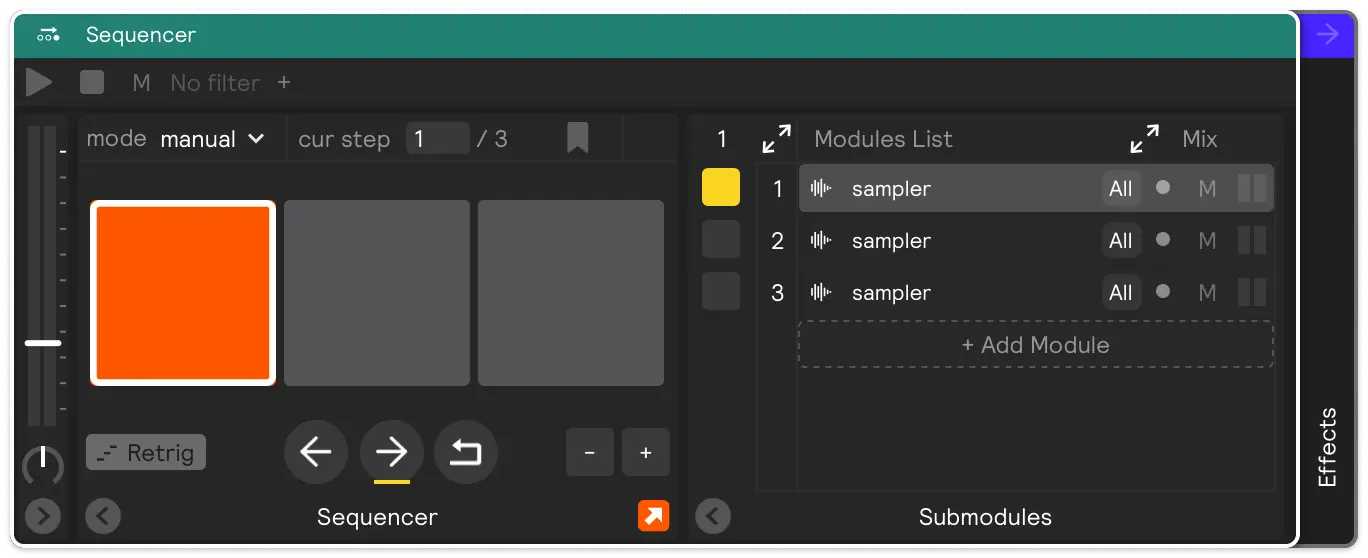
When a sequencer is in manual mode the sequence never advances on its own; hits sound the current step, and you move it with prev, next, or the current step box. In practice this really is only useful if you have an assignment on the next/previous/reset buttons or the number box. But manual mode is extremely powerful and allows you to embed song structure into your set.
For example, you could assign three different note controllers to three different steps in a sequencer set to manual mode, and then assign the rim of a drum to the next button to advance the sequence: effectively creating a key-change switch embedded in your drums.
Retrigger
Turn on the retrig button if you want the sounding module to cutoff the sound of the previously sounded module. This is useful, for example, if you have a sequence of chords that should not overlap. Leave it off if you want the tails of the previously triggered module to play out even after you've triggered a new module.
Follow Triggered
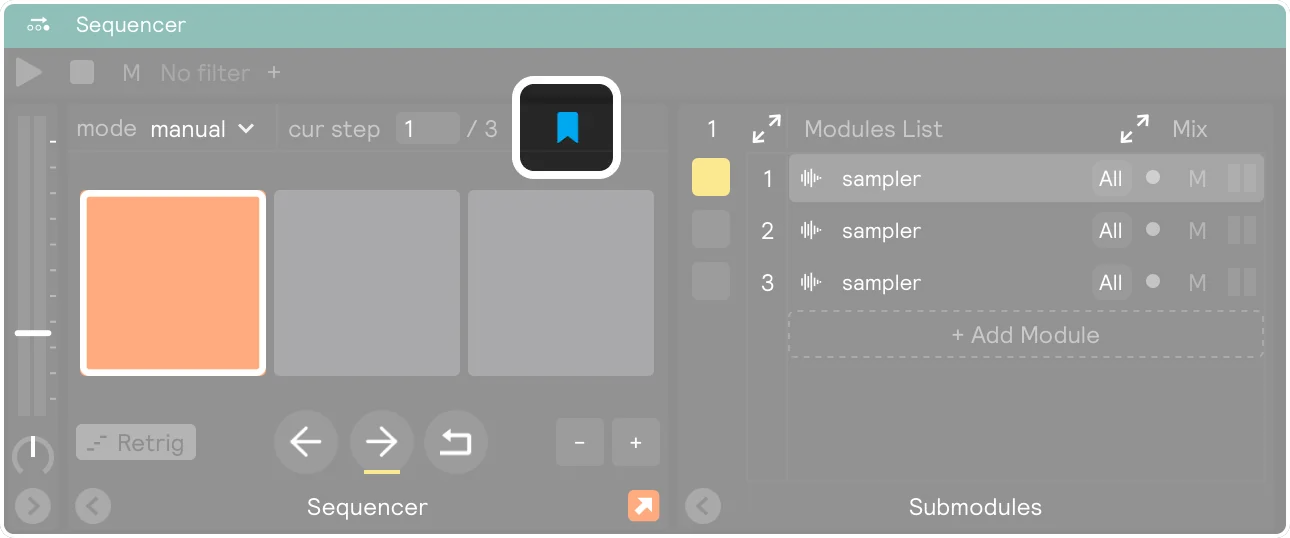
As with the other controllers you can turn on the little arrow button in the bottom left of the Sequencer, above the retrig button, which will highlight the step that last sounded, so the display tracks the sequence as it runs. This can be helpful if you are sound designing while you are playing and want to see the last played module.
Keep in mind that this highlight and current step show two different things: the highlight is the step that last sounded, while current step is the step queued up to sound next. Hit parameters that arrive after a trigger — continuous, aftertouch-style control — are routed to the step that last sounded, not the one queued up.
Save Step
Turn on the Save Step parameter, if you want the sequencer to remember what step it's on when you toggle between sets, instead of returning to step 1. This is helpful, for example, if you have a toggle macro mapped to the number box of a sequencer in manual mode switching between a "snares on" or "snares off" sound, and you want to change sets in your session, but have the set "remember" if the snares are off/on when you come back to it. In that case you would want to turn on Save Step.