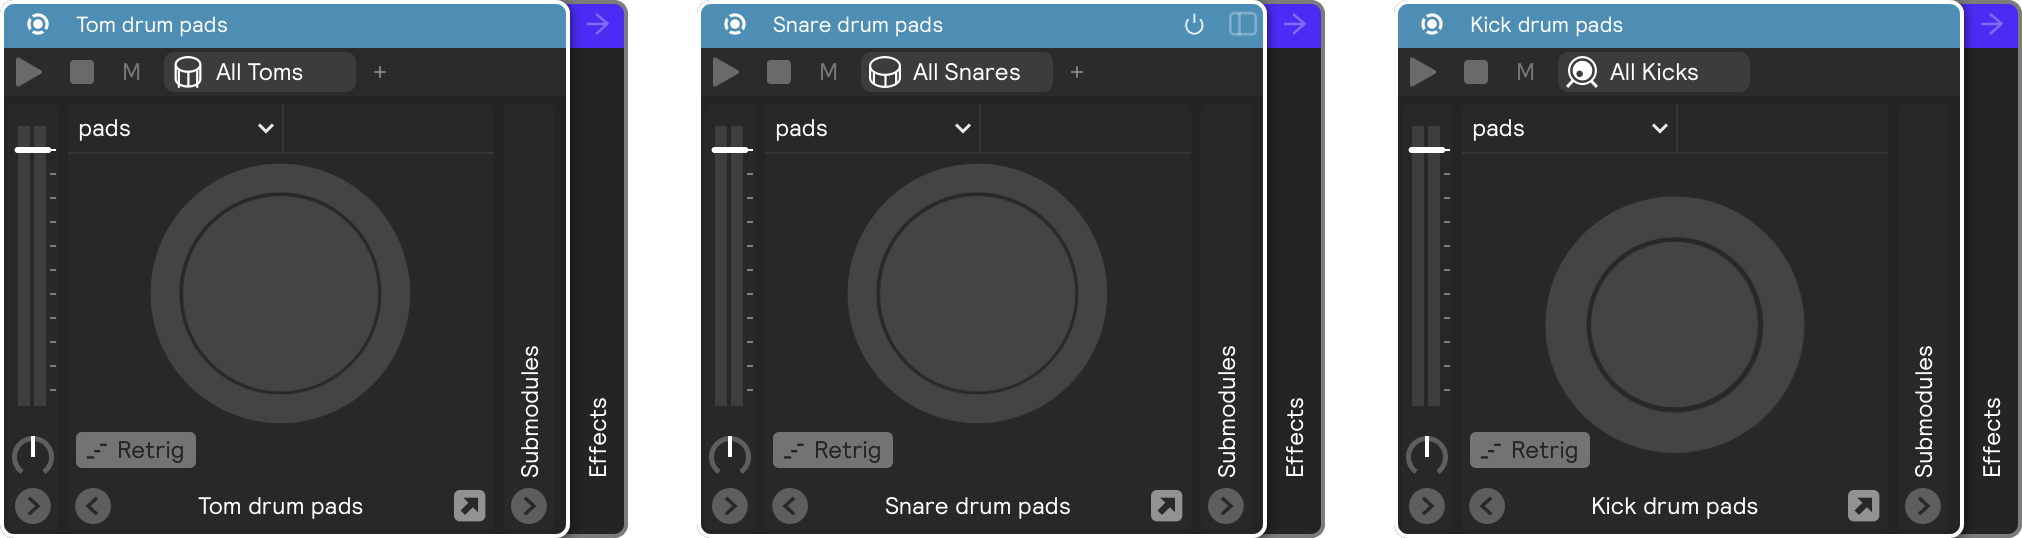
Drum Pads
Drum pads controllers allow you to distribute modules across the different pads (or zones) of the drum. If you’re coming from Sensory Percussion V1, drum pads might look a bit familiar.
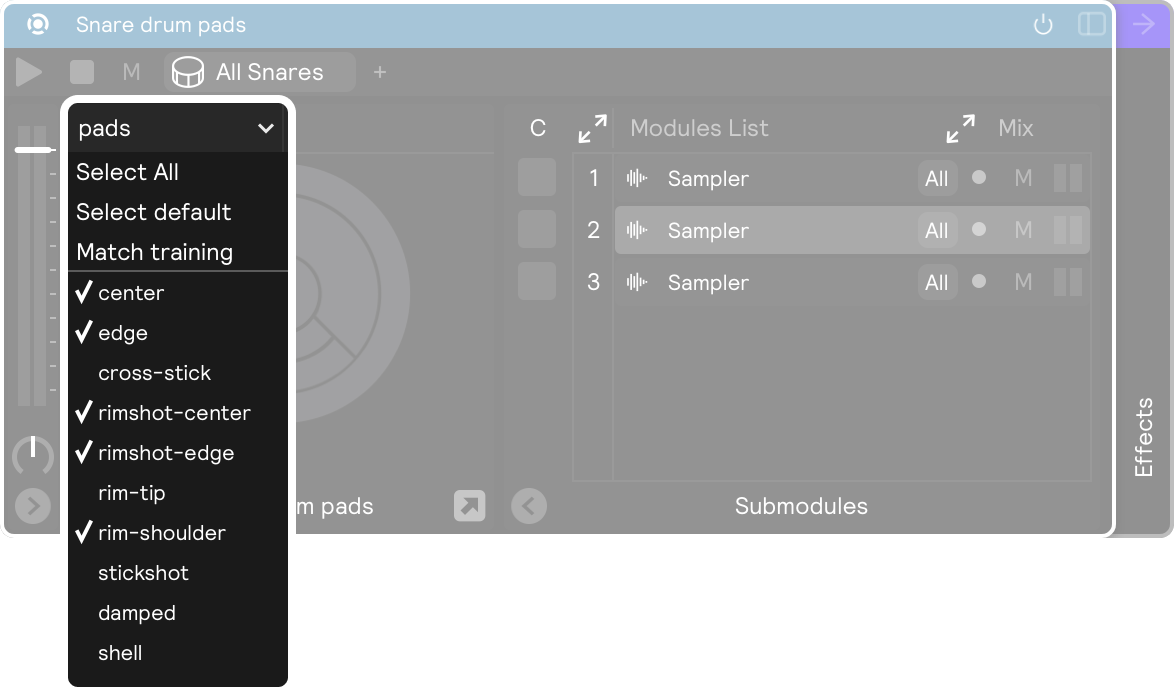
Hover over each section of the drum pad to see the zone it corresponds to. By default the Drum Pads controller includes 2 zones when you first drag it in. To add more zones to use, click the Pads ▽ button and choose your zones.
You can drag-and-drop controllers, modules, and samples from the Library onto these zones, or drag and drop your own samples from Finder/Explorer (or even 3rd party sampler apps!).
Advanced Mapping Matrix
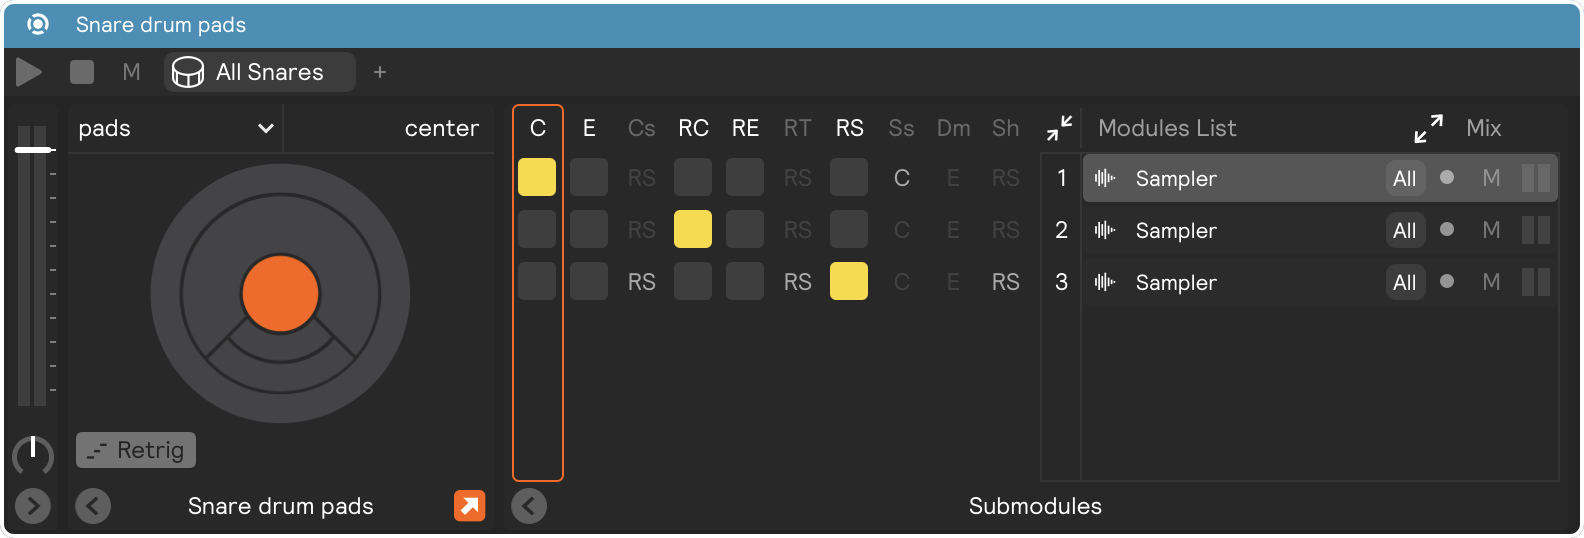
For advanced and/or quick mapping, you can enter the advanced mapping matrix and assign modules to zones. Open the advanced mapping view by clicking the diagonal arrows icon above the module number column.
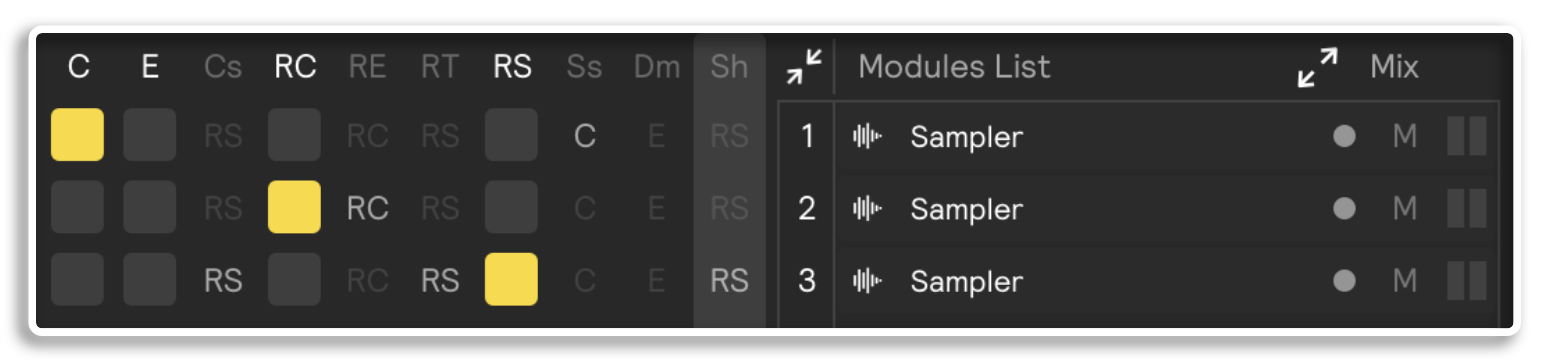
In the advanced mapping matrix, click on a pad abbreviation (C, E, Cs, RC, etc.) next to a module to assign that module to that pad.
Holding down shift and clicking on a square in the grid will blend the module with those pads. Blends are a unique feature of Sensory Percussion (and a favorite of Sensory Percussion V1). They enable the drum pads to play proportionally to how you’ve hit the drum. Enabling blends removes the boundary between zones and causes the zones to flow into one another (just like a drum behaves in the real world). Blended pads will appear outlined in yellow, rather than filled in, like non-blended pads.
shift-clicking on a zone will trigger a hit. Useful for audition what's on it.
Automatic Assignments
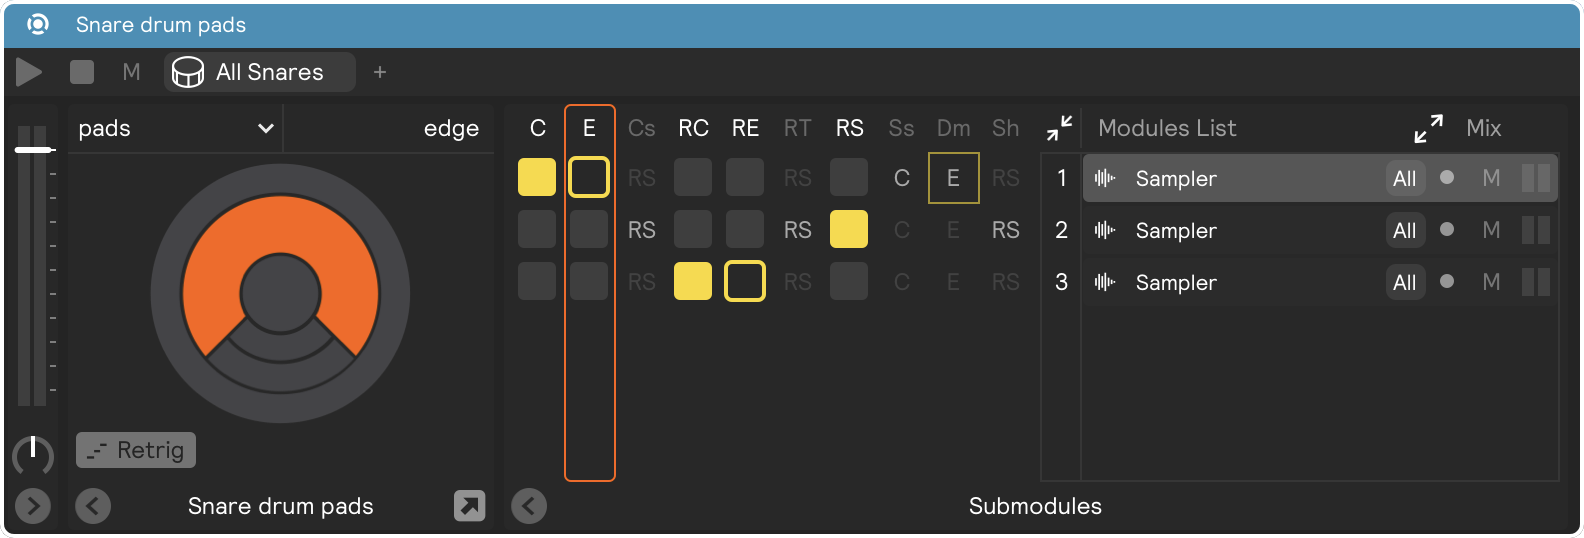
Why is it that deactivated pads in the advanced mapping matrix show the abbreviations for other zones?
For example: if you activate Center (C), Rimshot Center (RC), and Rim Shoulder (RS), you'll notice in the advanced mapping matrix that:
- The Edge, Stick Shot, and Damped zones have a light grey "C" icon in place of a clickable box, indicating that they are automatically assigned to the Center zone.
- The Cross Stick, Rim Tip, and Shell have a light grey "RS" icon instead of a clickable box, indicating that they are automatically assigned to the Rim Shoulder zone.
- The Rimshot Edge has a light grey "RC" icon instead of a clickable box, indicating that it is automatically assigned to the Rimshot Center zone.
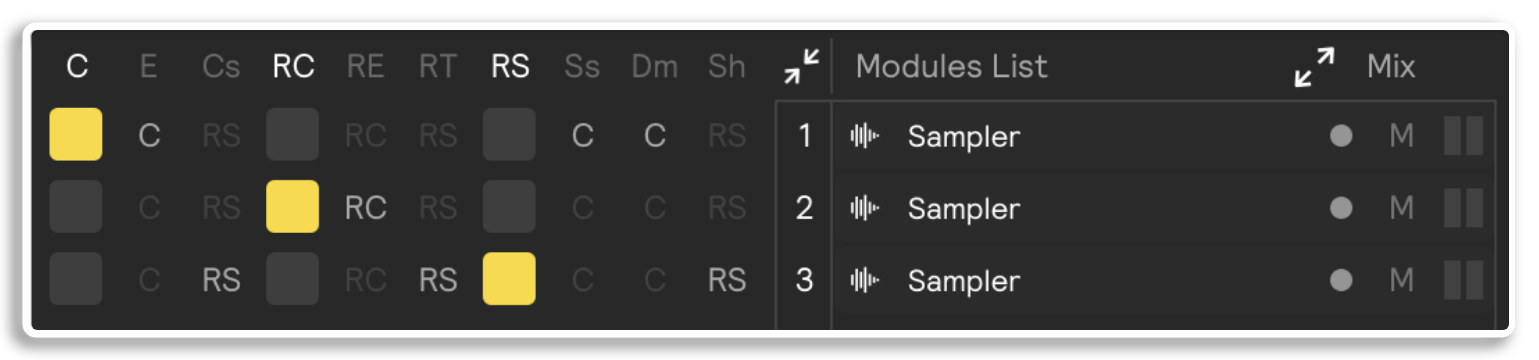
This automatic assignment feature of the Drum Pads is to help you avoid having to click many times to assign a module/s across multiple zones, and/or have empty (non-sounding) zones by default. The Drum Pads controller is "smart" in that way: it will automatically assign a deactivated zone to the most timbrally similar active zone.
But, if you actually want to have a blank (non-sounding) zone in your Drum Pads controller, simply activate it but don't assign anything to it.
Highlight Last Played Zone
What's that little arrow button in the bottom left of the Drum Pads Controller?
That's the "Highlight Last Played" button. When it's turned on, it will highlight the last zone that was triggered. This can be helpful if you are sound designing while you are playing and you want to quickly see what is assigned to the last zone you struck.